Creating a Project
Set up your first project and organize your resources
Everything in RightPlace lives inside a project. A project groups your WordPress sites, terminals, databases, documents, and other resources into one workspace. This guide walks you through creating your first project.
Creating a new project
Step 1: Open the New Project dialog
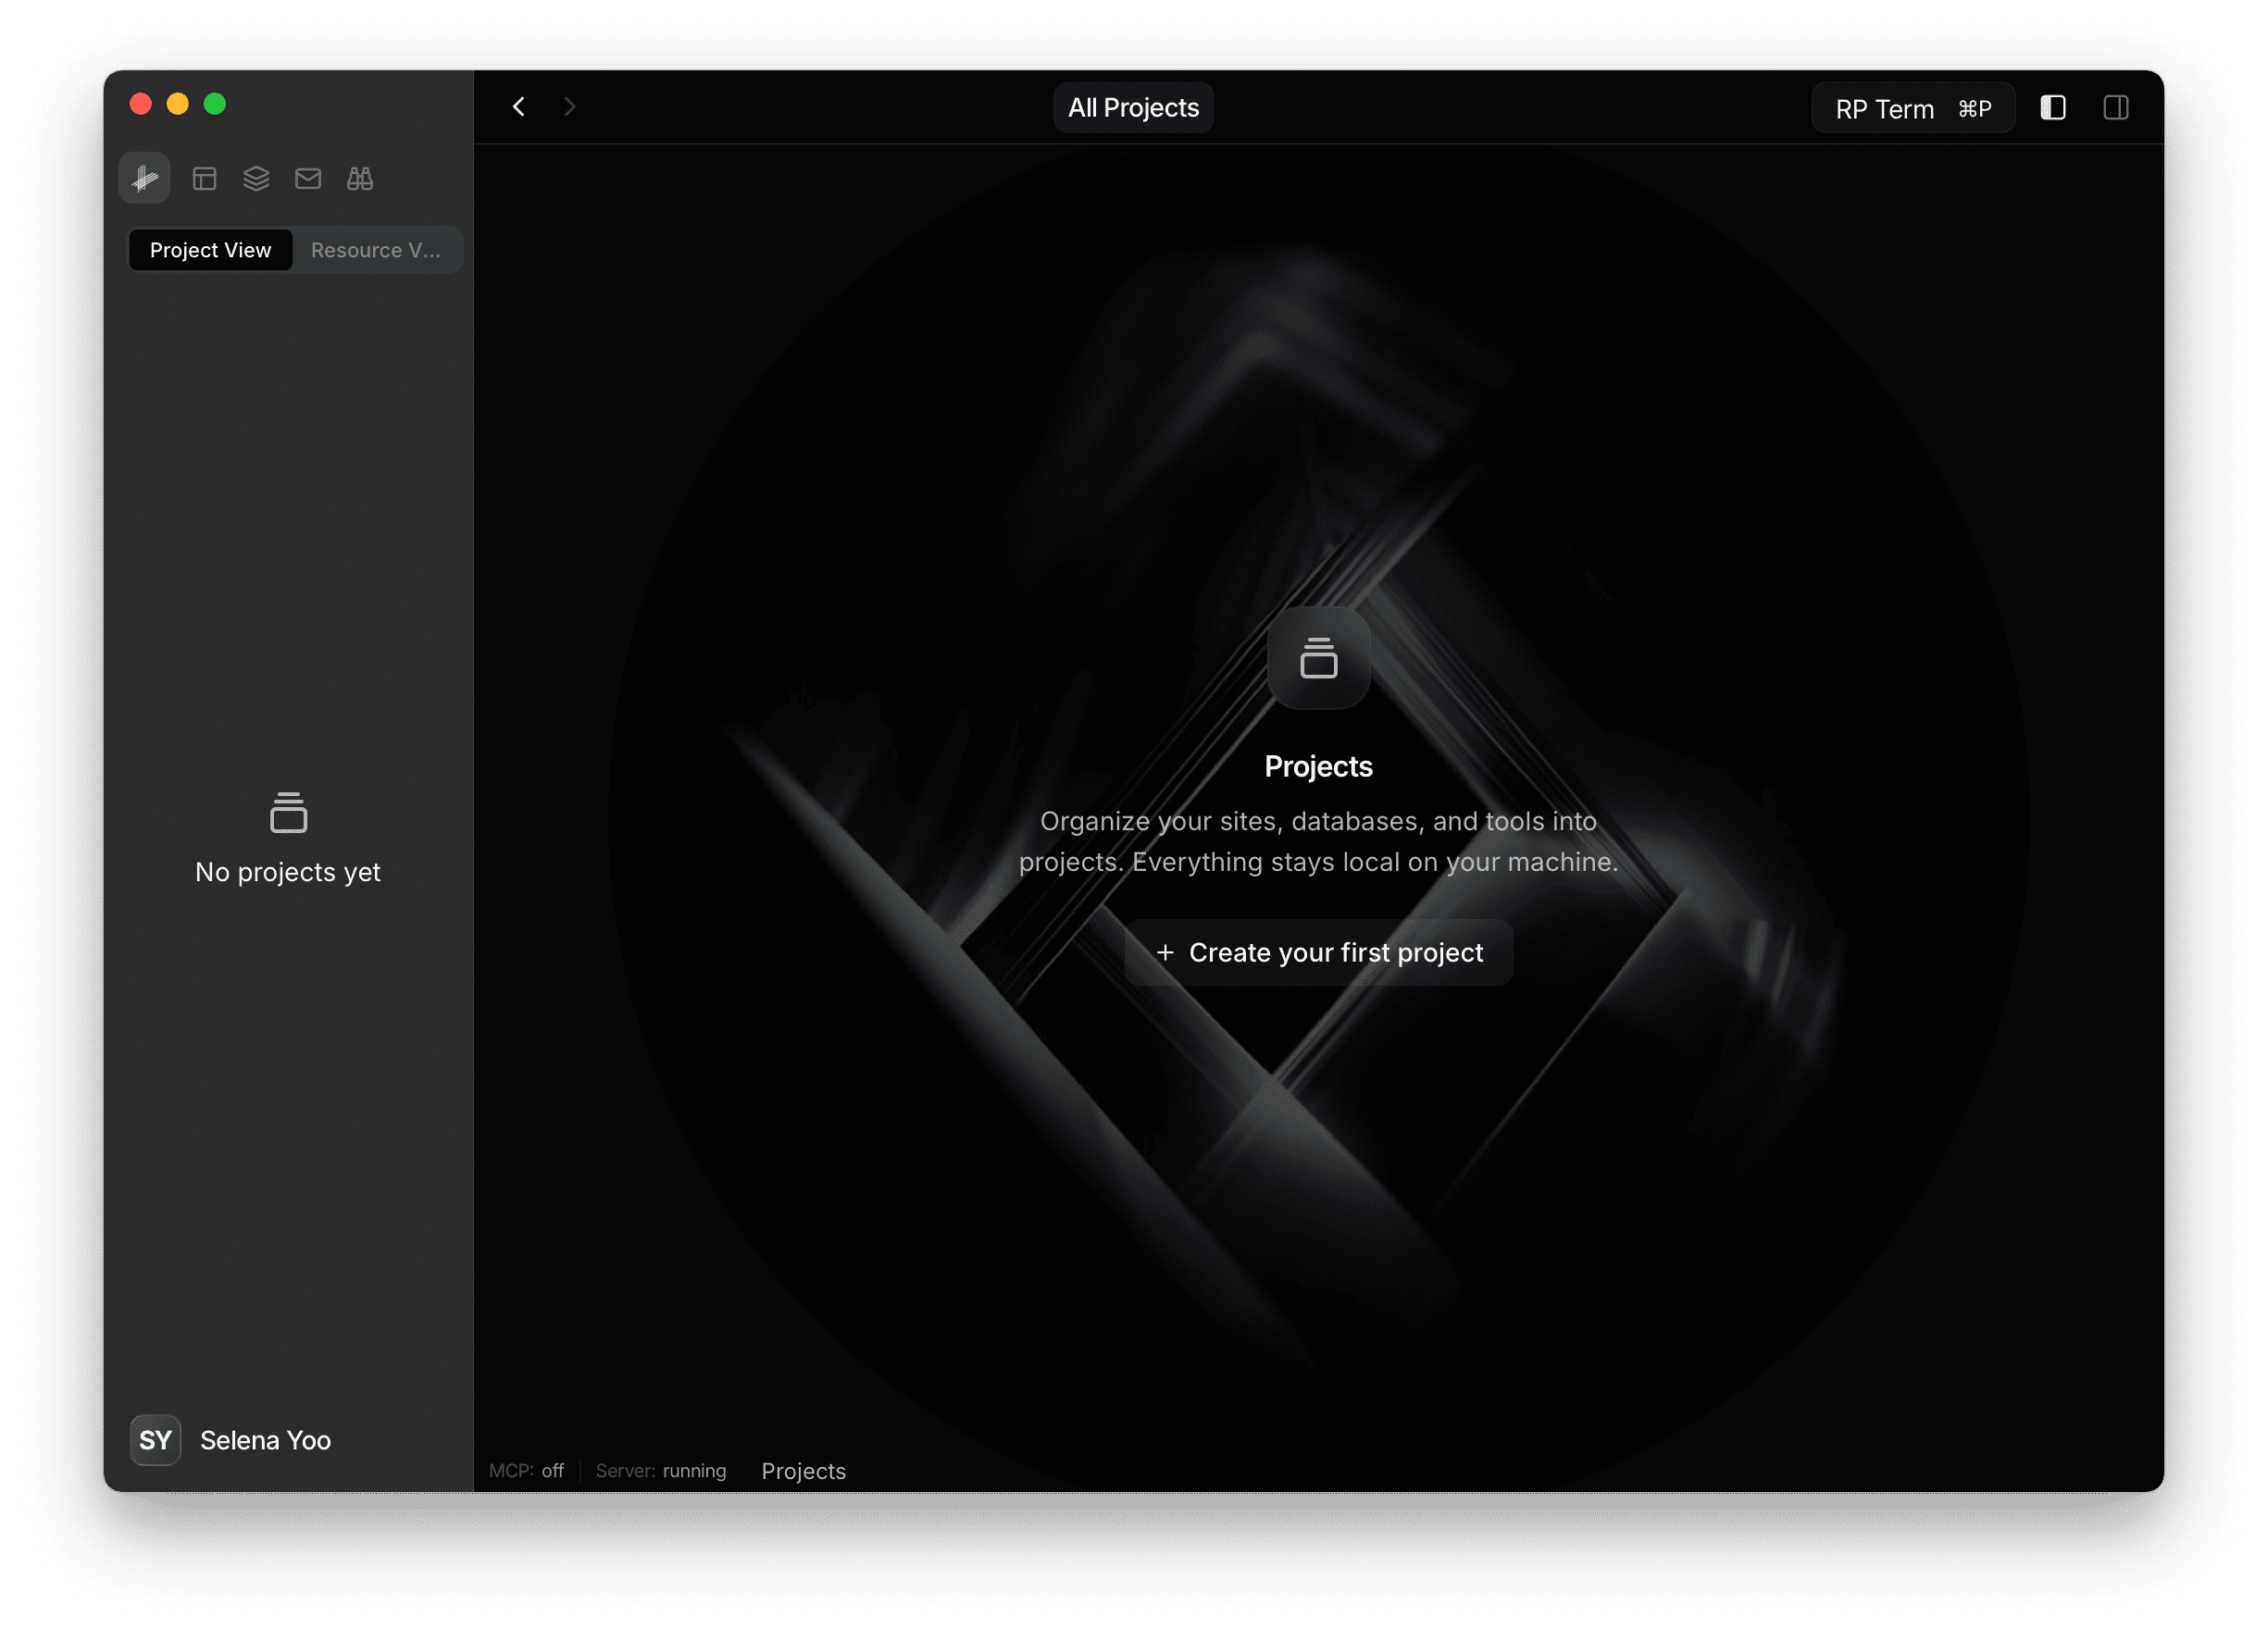
There are two ways to create a project:
- From the sidebar: Click the + button next to the PROJECTS header.
- From the All Projects page: Click New Project in the header.
If this is your first time using RightPlace, you’ll see a welcome screen with a Create your first project button.
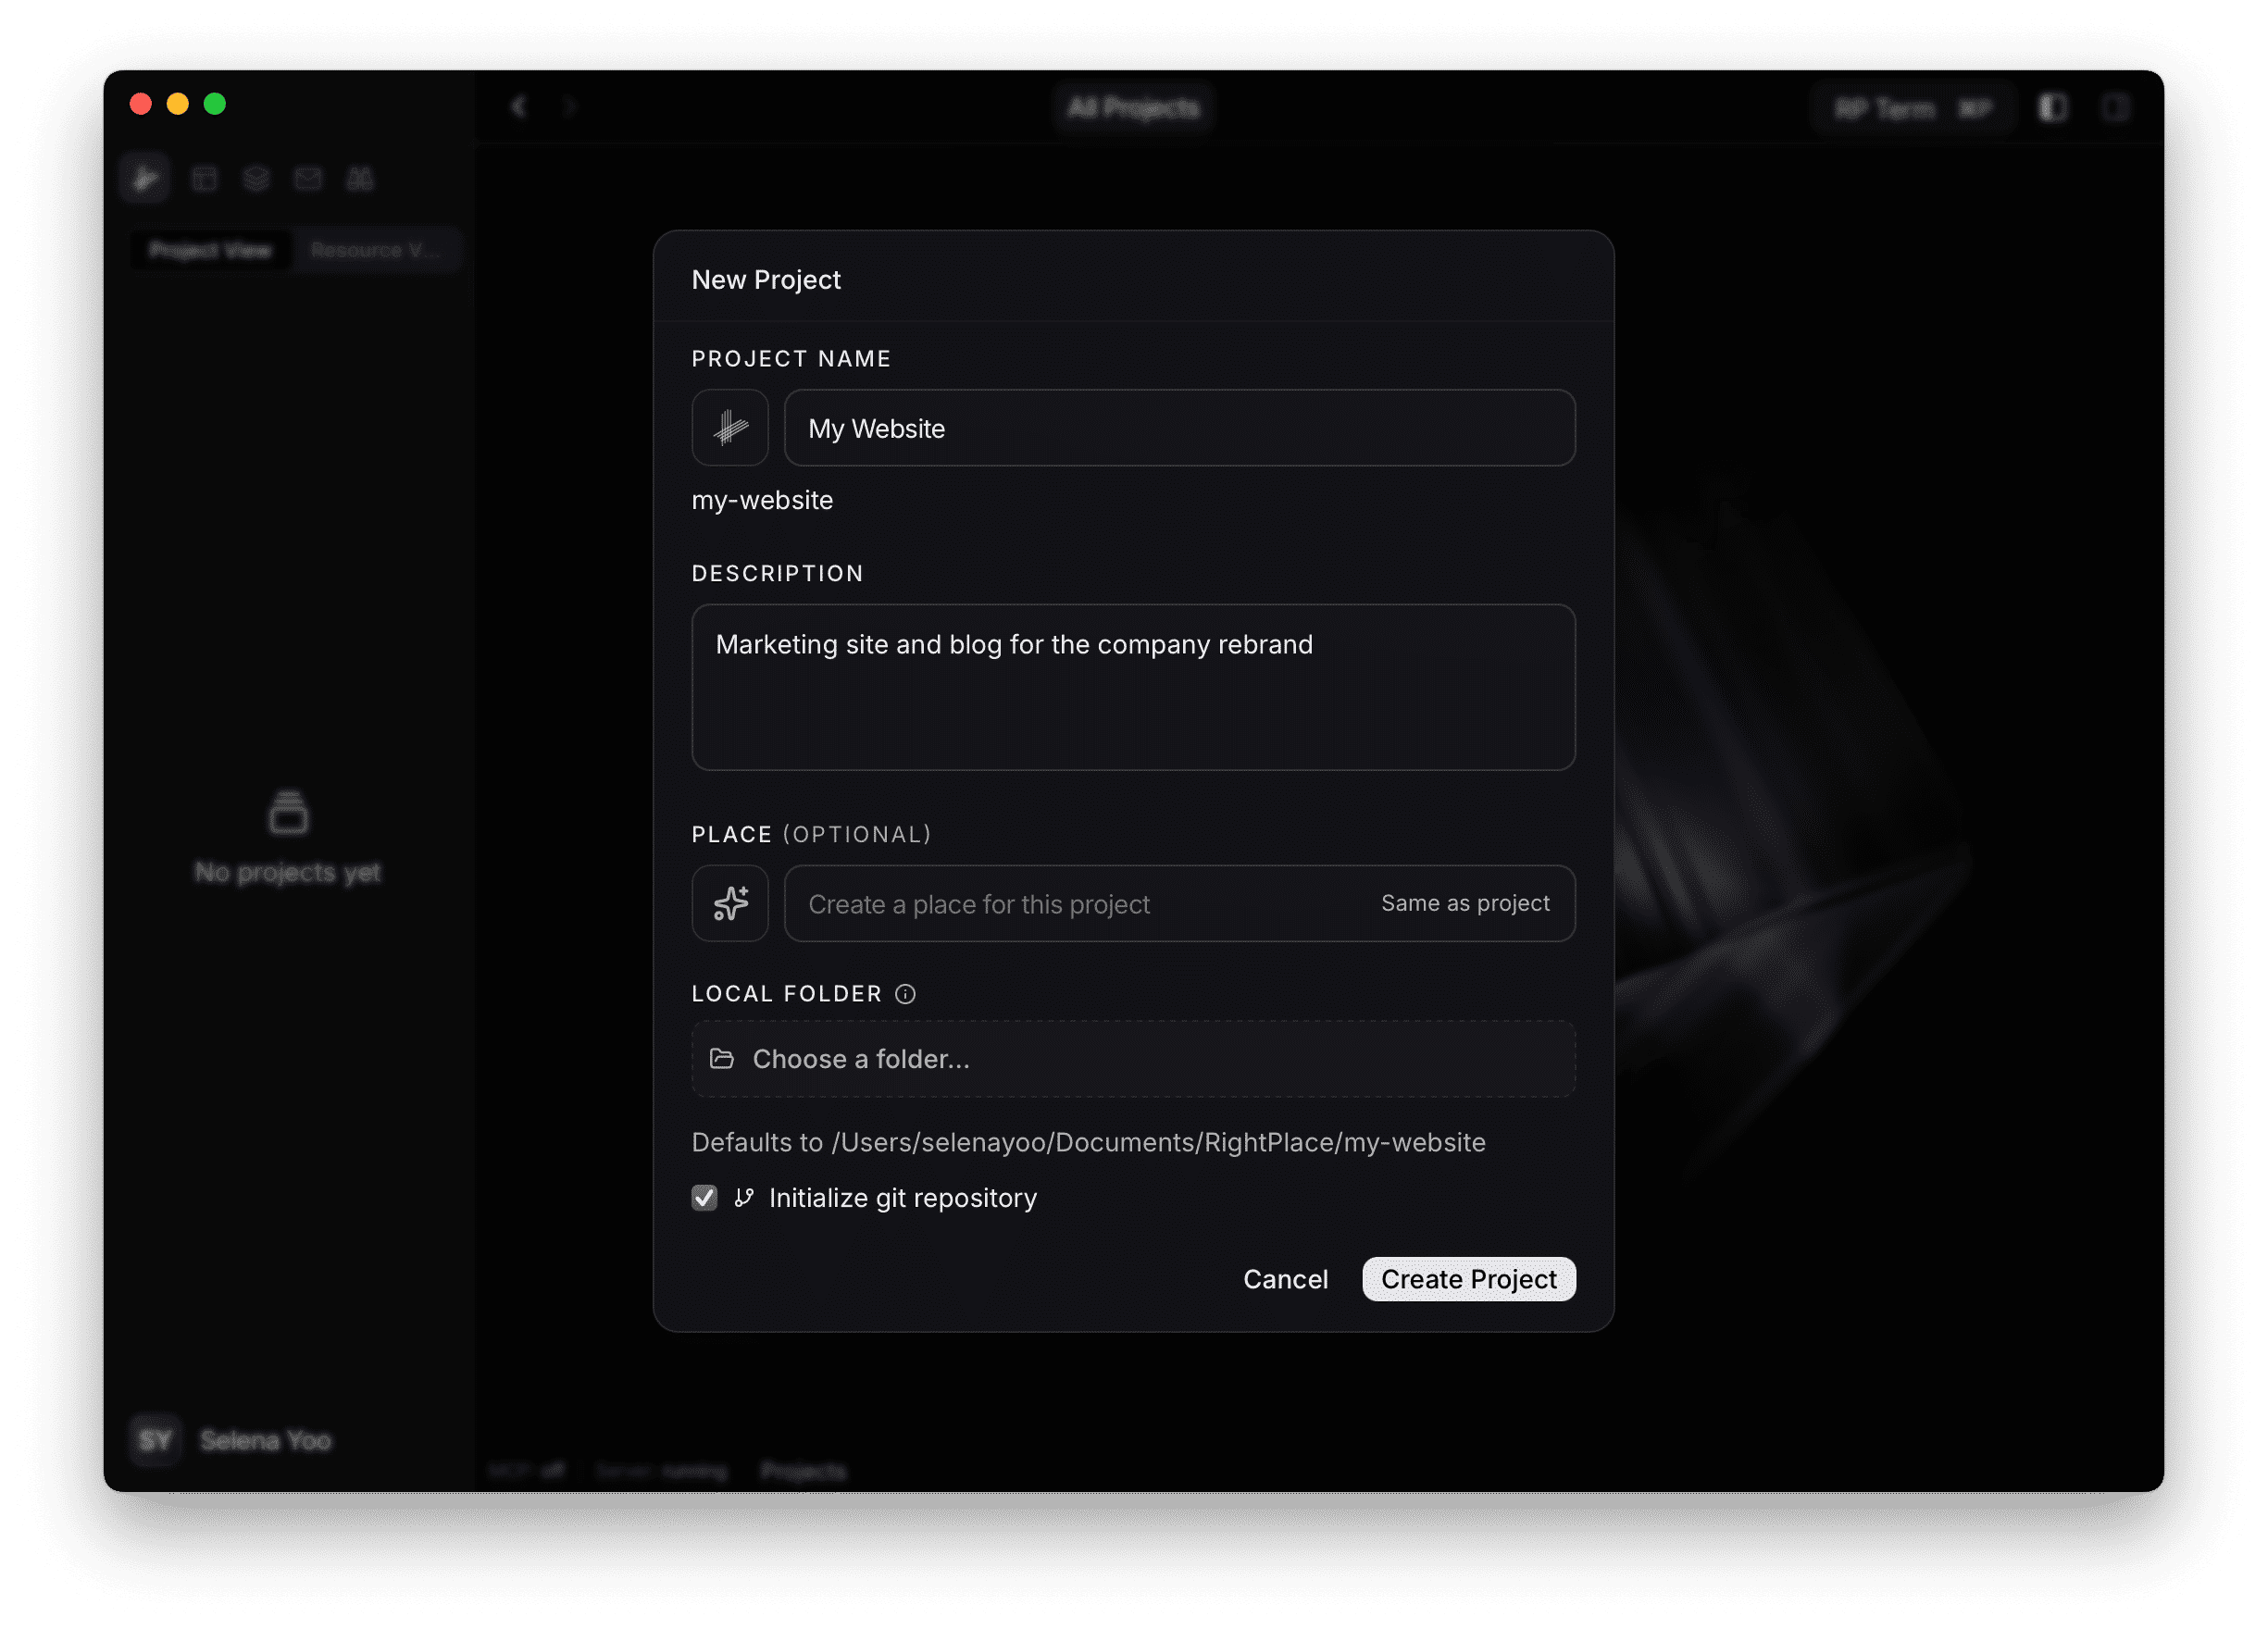
Step 2: Name your project
Enter a project name. This name appears in the sidebar and project list. A slug is generated automatically from the name.
You can also add an optional description to note what the project is for.
Step 3: Choose an icon
Click the icon area to open the icon picker. You can choose from over 100 icons and assign a color. This helps you quickly identify projects in the sidebar. Icons are optional, so feel free to skip this step or change it later in project settings.
![]()
Step 4: Create a place (optional)
You can optionally create a place alongside your project. A place is a tab workspace scoped to the project that lets you organize your open tabs and layout. You can click “Same as project” to reuse the project name. If you skip this, you can always create places later.

Step 5: Set a local folder
Click Choose folder to pick or create a folder on your machine where the project files will live. If you leave this blank, RightPlace uses a default location under ~/Documents/RightPlace/.
When you select a folder, RightPlace inspects it automatically:
- Empty folder: Ready to go. RightPlace will create a
rightplace/directory inside it to store project metadata. - Existing git repo: Detected and displayed. No changes to your repo.
- Existing RightPlace project: If the folder already contains a
rightplace/directory from a previous setup, RightPlace will offer to import it with all its resources and connections intact.

Step 6: Initialize git
If your selected folder doesn’t already have a git repository, you’ll see a checkbox to initialize a git repository. This is enabled by default. Git tracking is useful for versioning your project configuration, but it’s not required.

Step 7: Finish & Create
Click Create. RightPlace will:
- Create the project record in your local database
- Set up the project folder with a
rightplace/directory containing metadata files - Initialize git if you opted in
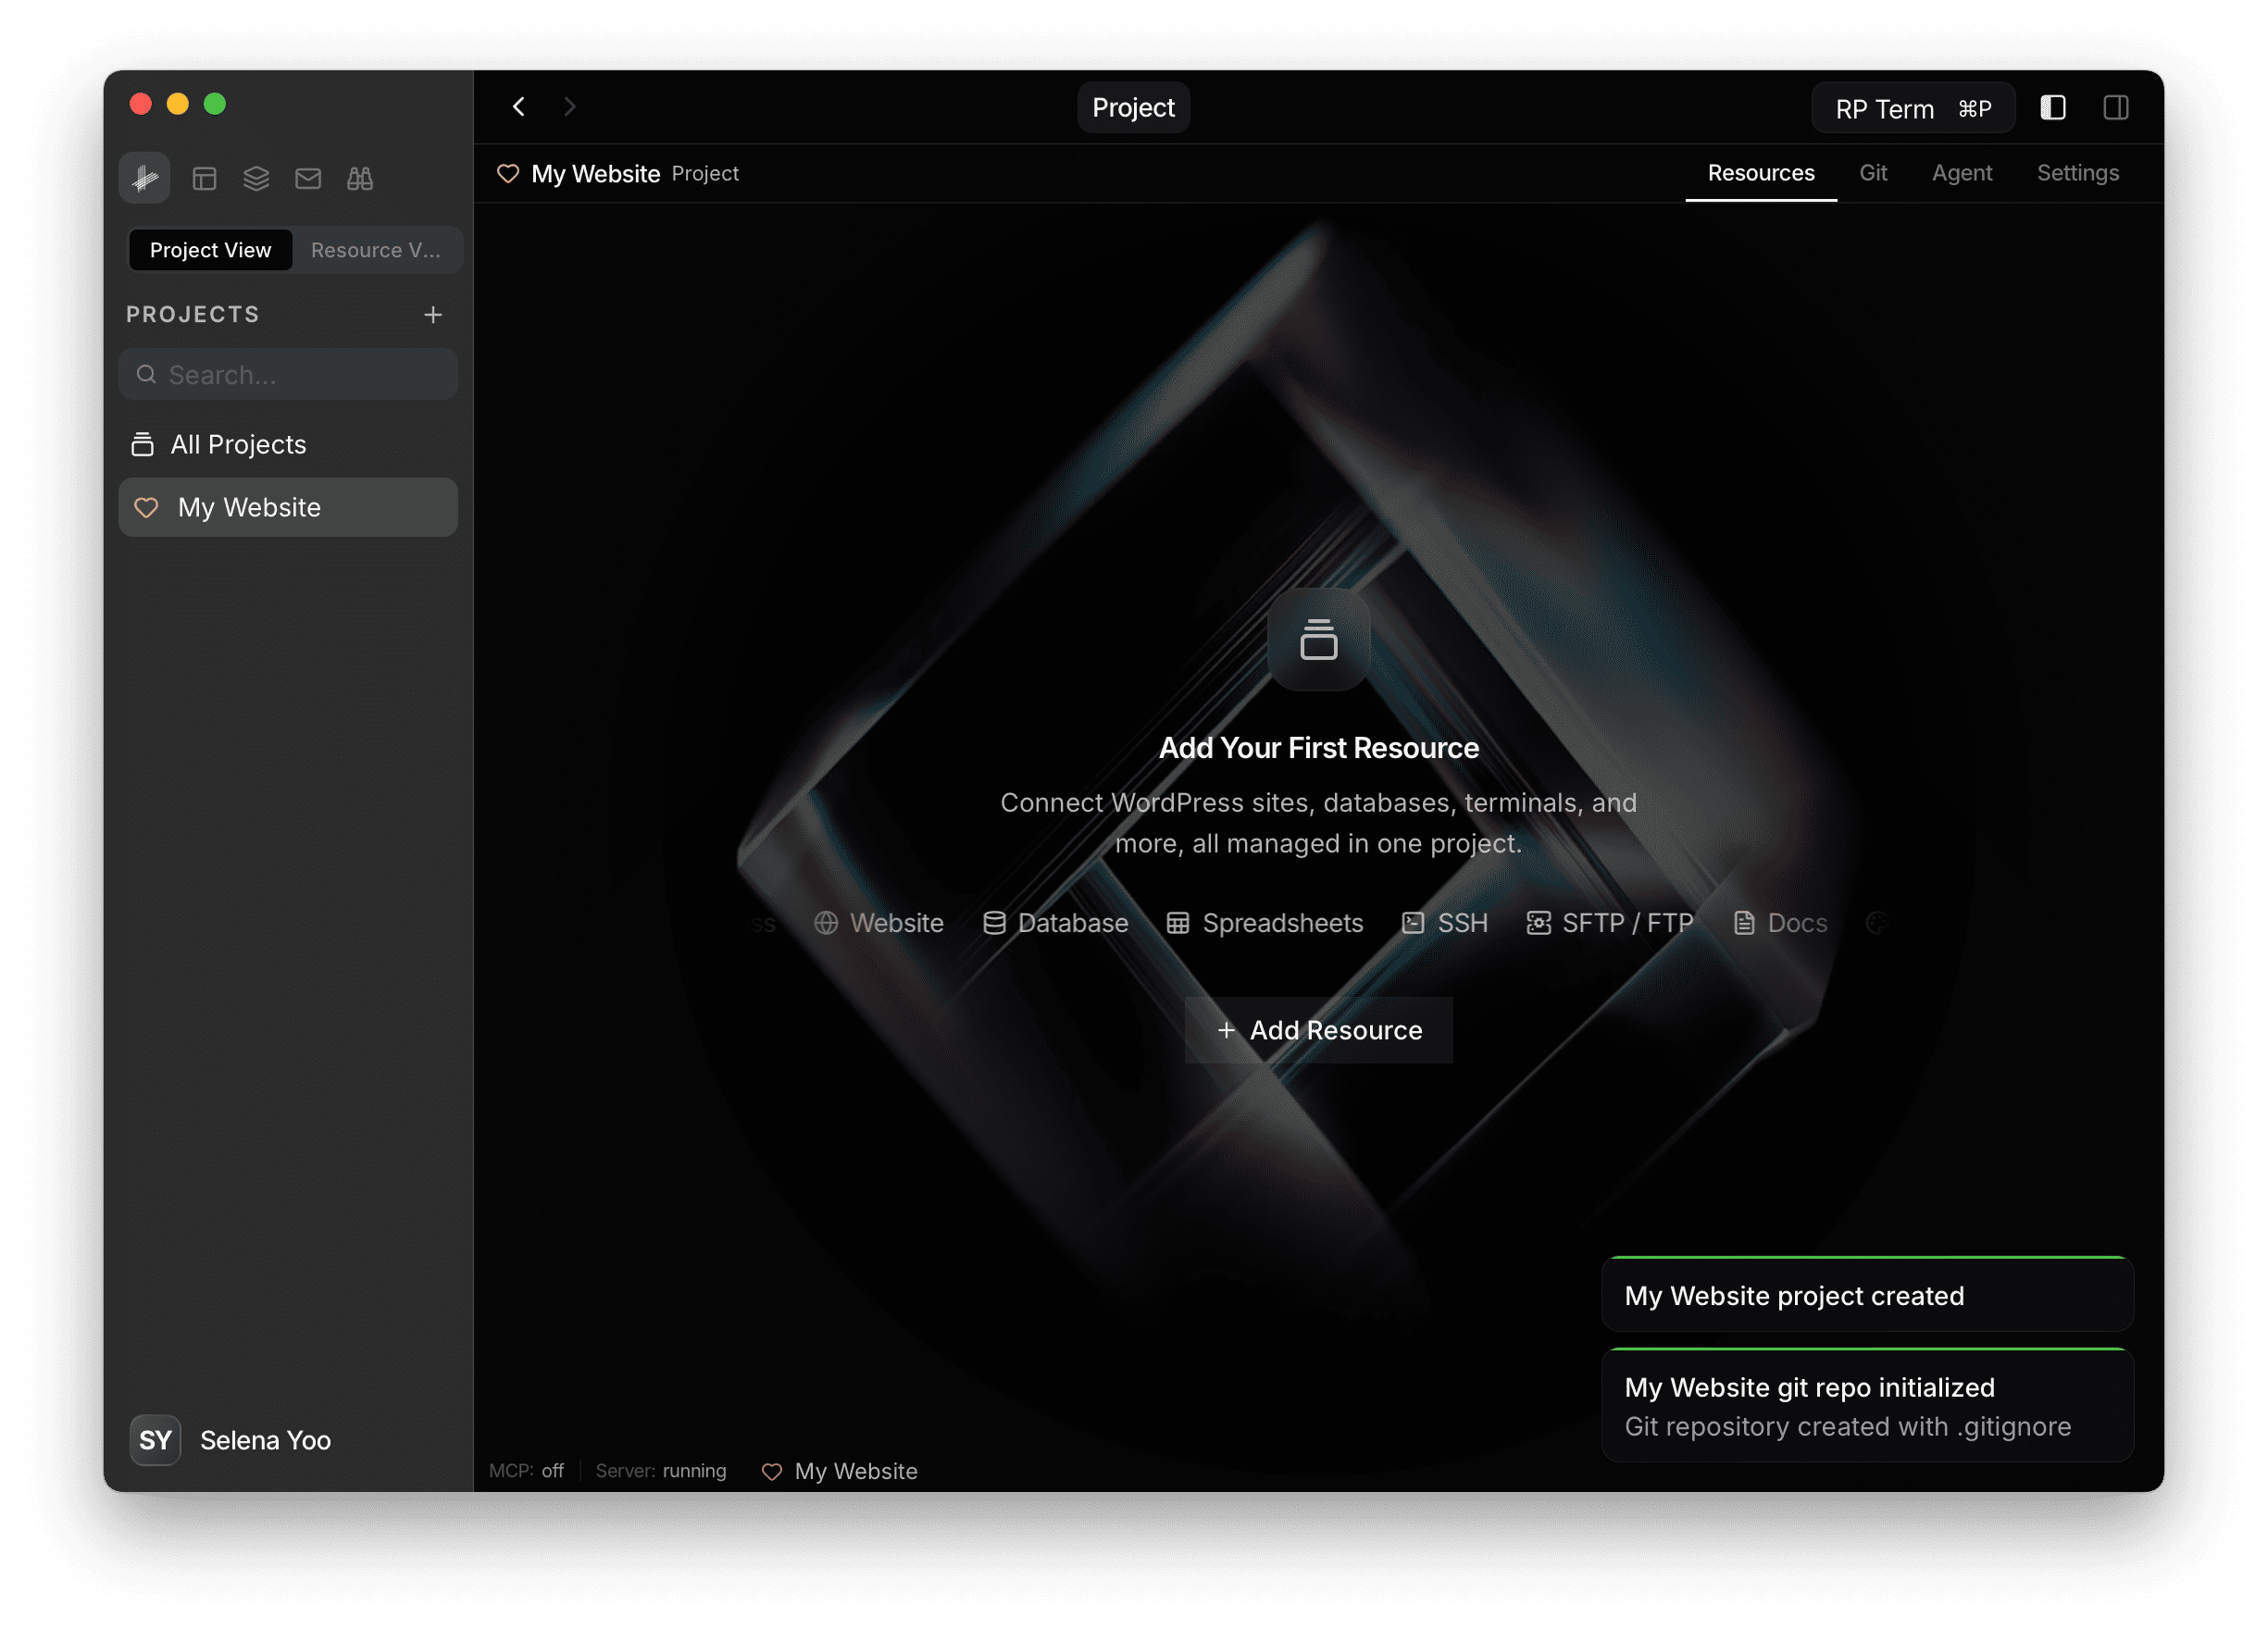
- Open the project in a new tab
Your new project is now the active project. You’ll see it in the sidebar, and you’re ready to start adding resources.
What’s in the project folder
After creation, your project folder contains:
your-project/
└── rightplace/
    ├── project.json       # Project metadata (id, name, slug)
    ├── config.json        # Project configuration
    ├── .gitignore         # Ignores credentials directory
    ├── resources/         # Resource configurations
    ├── connections/       # Connection configurations
    └── tasks/             # Task data
This structure is managed by RightPlace. You generally don’t need to edit these files directly.
Import an existing project
If you already have a project folder from another machine or a backup, select that folder when creating a new project. RightPlace detects the existing rightplace/ directory and imports your resources, connections, and configuration automatically. The form fields are pre-filled from the existing project metadata.

Next steps
- Adding Applets: Add tools, connections, and services to your project
- Connecting a WordPress Site: Add your first WordPress site to the project