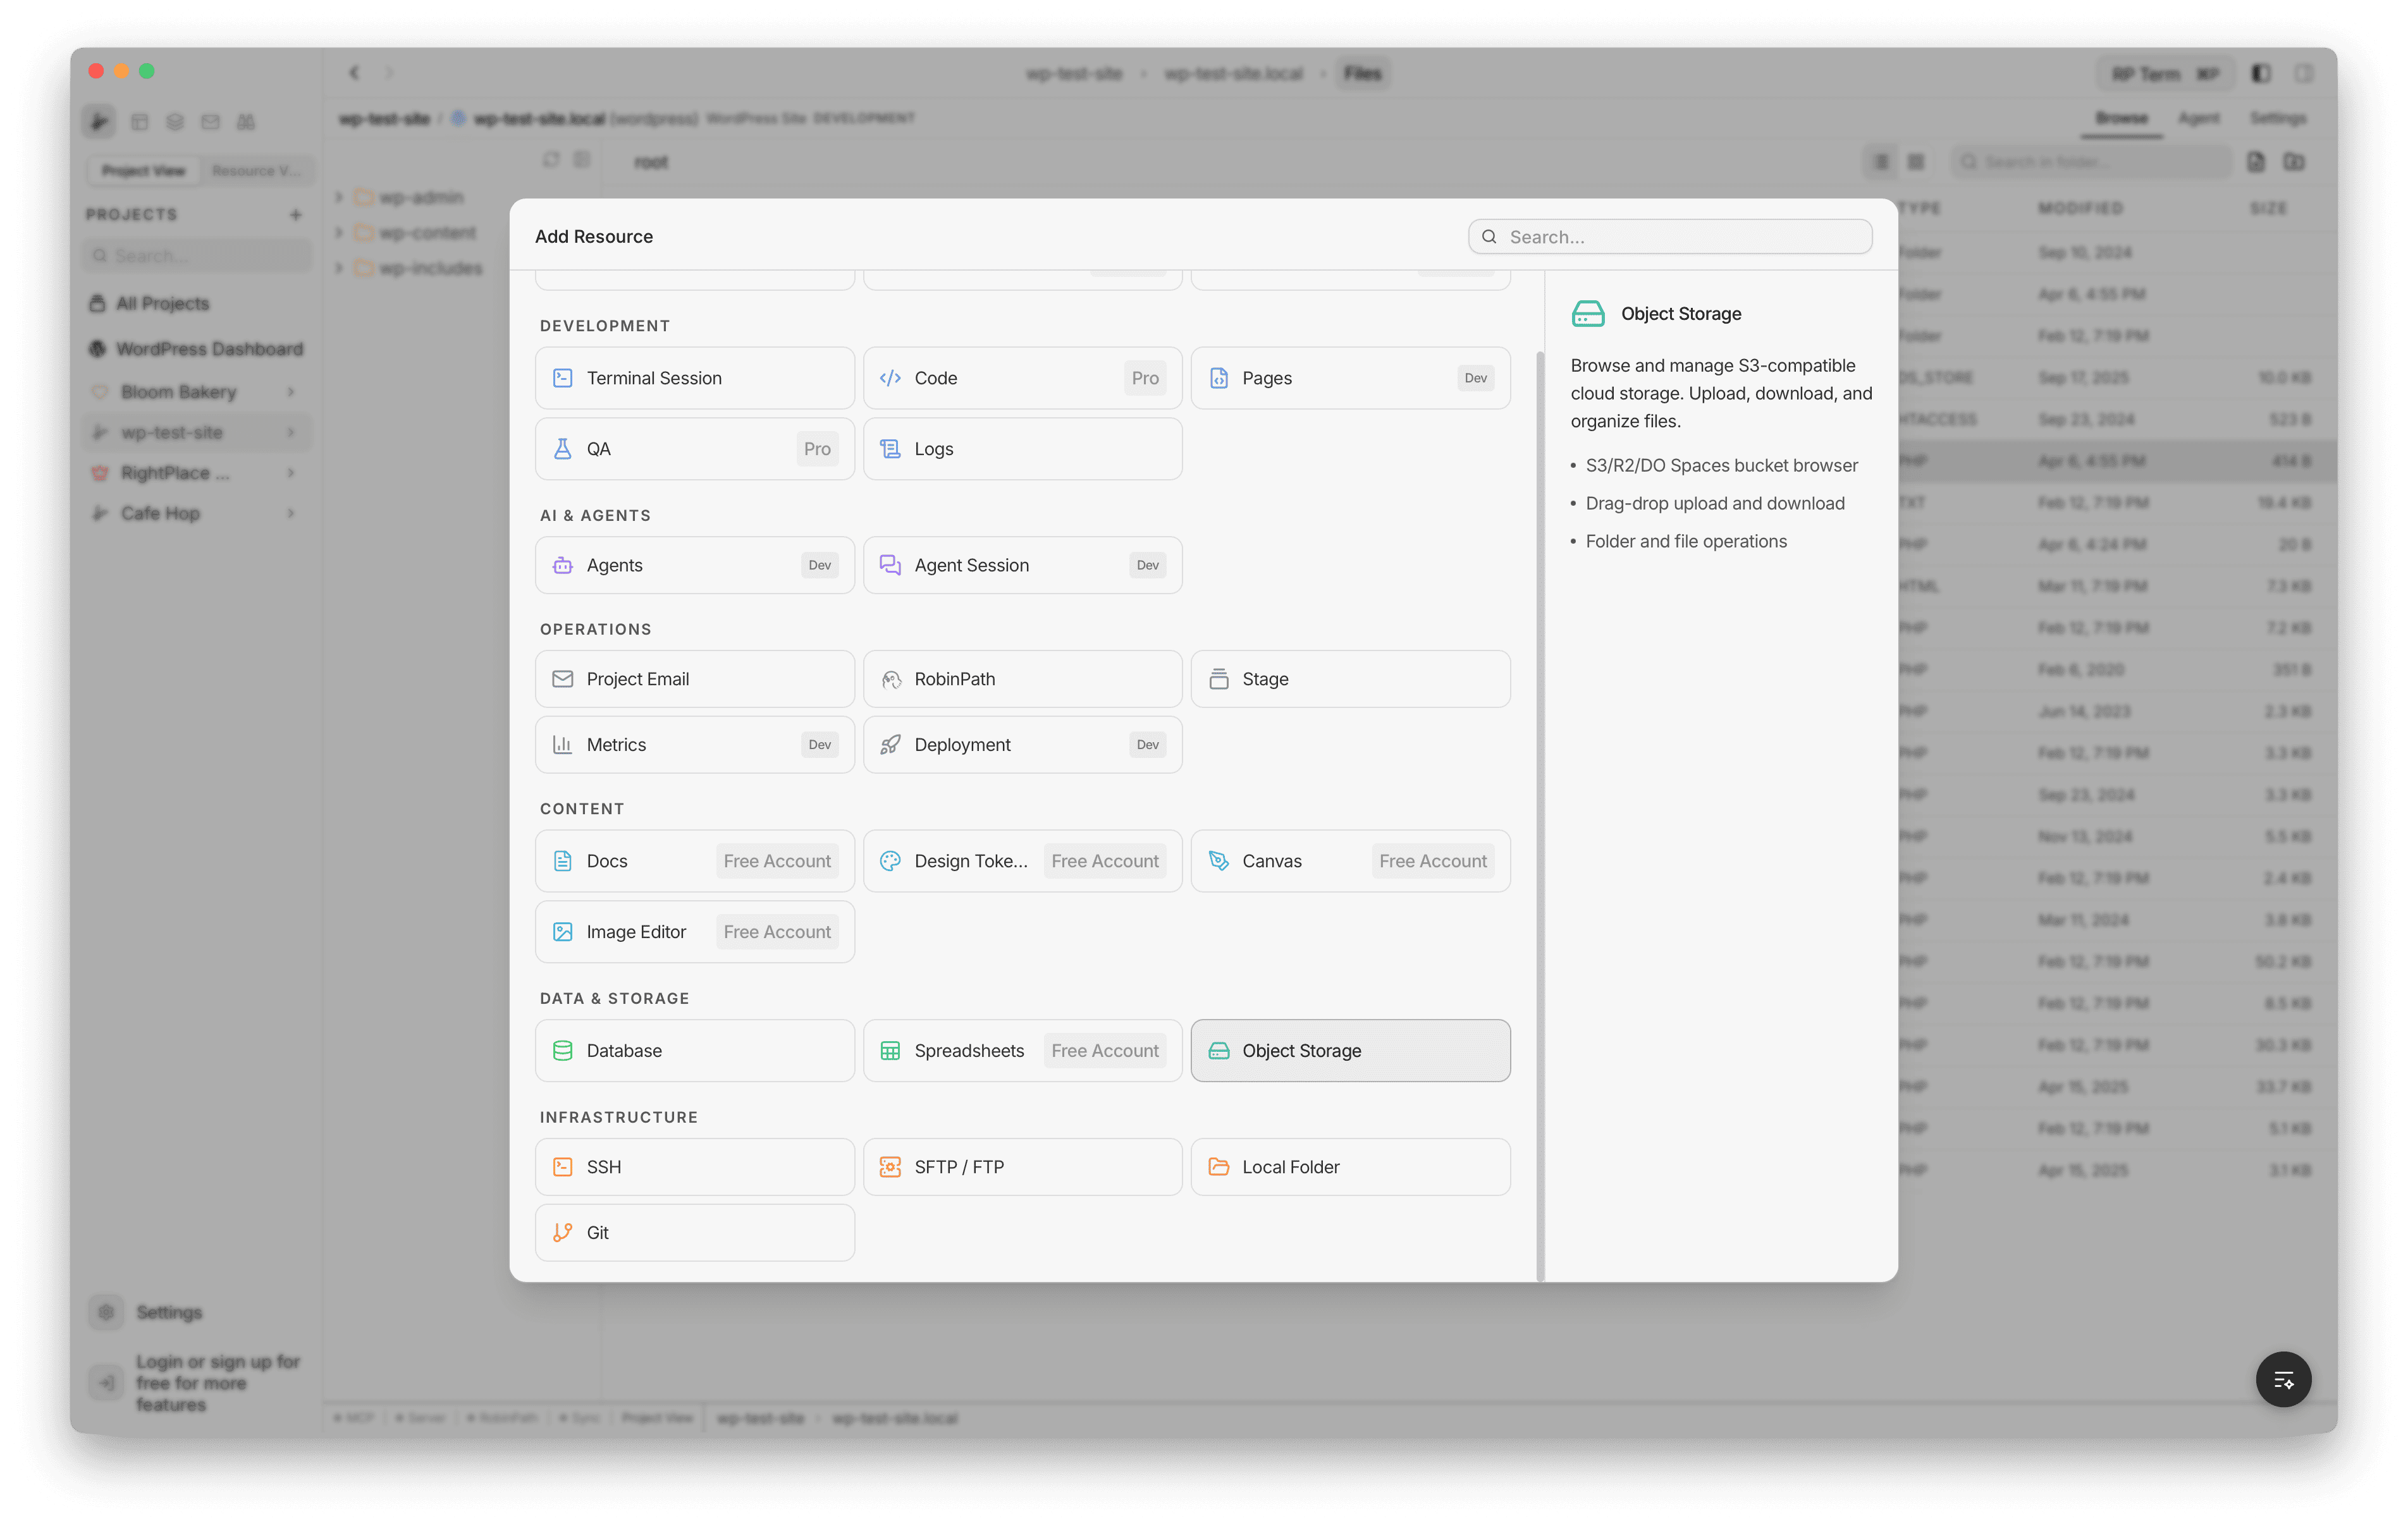
Object Storage
Browse and manage S3-compatible cloud storage. Upload, download, and organize files.
Features
- S3/R2/DO Spaces bucket browser
- Drag-drop upload and download
- Folder and file operations
The Object Storage applet lets you connect to S3-compatible cloud storage and manage bucket contents directly inside RightPlace. You can browse objects, upload and download files, preview images, and organize your bucket without leaving the app.
Supported Providers
- Cloudflare R2: connects using your Cloudflare Account ID. The endpoint is generated automatically.
- Amazon S3: connects to any AWS region. Supports custom endpoints for S3-compatible services.
- DigitalOcean Spaces: connects using a region code (e.g.
nyc3). The endpoint is generated automatically.
All three providers use the same S3-compatible API under the hood, with AWS Signature V4 authentication.
Adding Object Storage
To add object storage to your project, open the Add Applet dialog and select Object Storage under the Servers & Hosting category.
The creation form lets you configure:
- Provider: choose between Cloudflare R2, Amazon S3, and DO Spaces using the tabs at the top
- Account ID (R2 only): your Cloudflare account ID
- Region (S3 and DO): the storage region (e.g.
us-east-1for S3,nyc3for DO) - Endpoint (S3 only, optional): a custom endpoint URL for S3-compatible services. Leave blank for standard AWS S3.
- Bucket (optional): the bucket name to connect to
- Access Key ID: your storage access key
- Secret Access Key: your storage secret key
- Test Connection: verify your credentials before saving. A green “Connected” or red “Connection failed” badge shows the result.
- Name: optional display name. Defaults to the bucket name or provider label if left blank.
- Environment: tag for Production, Staging, or Development
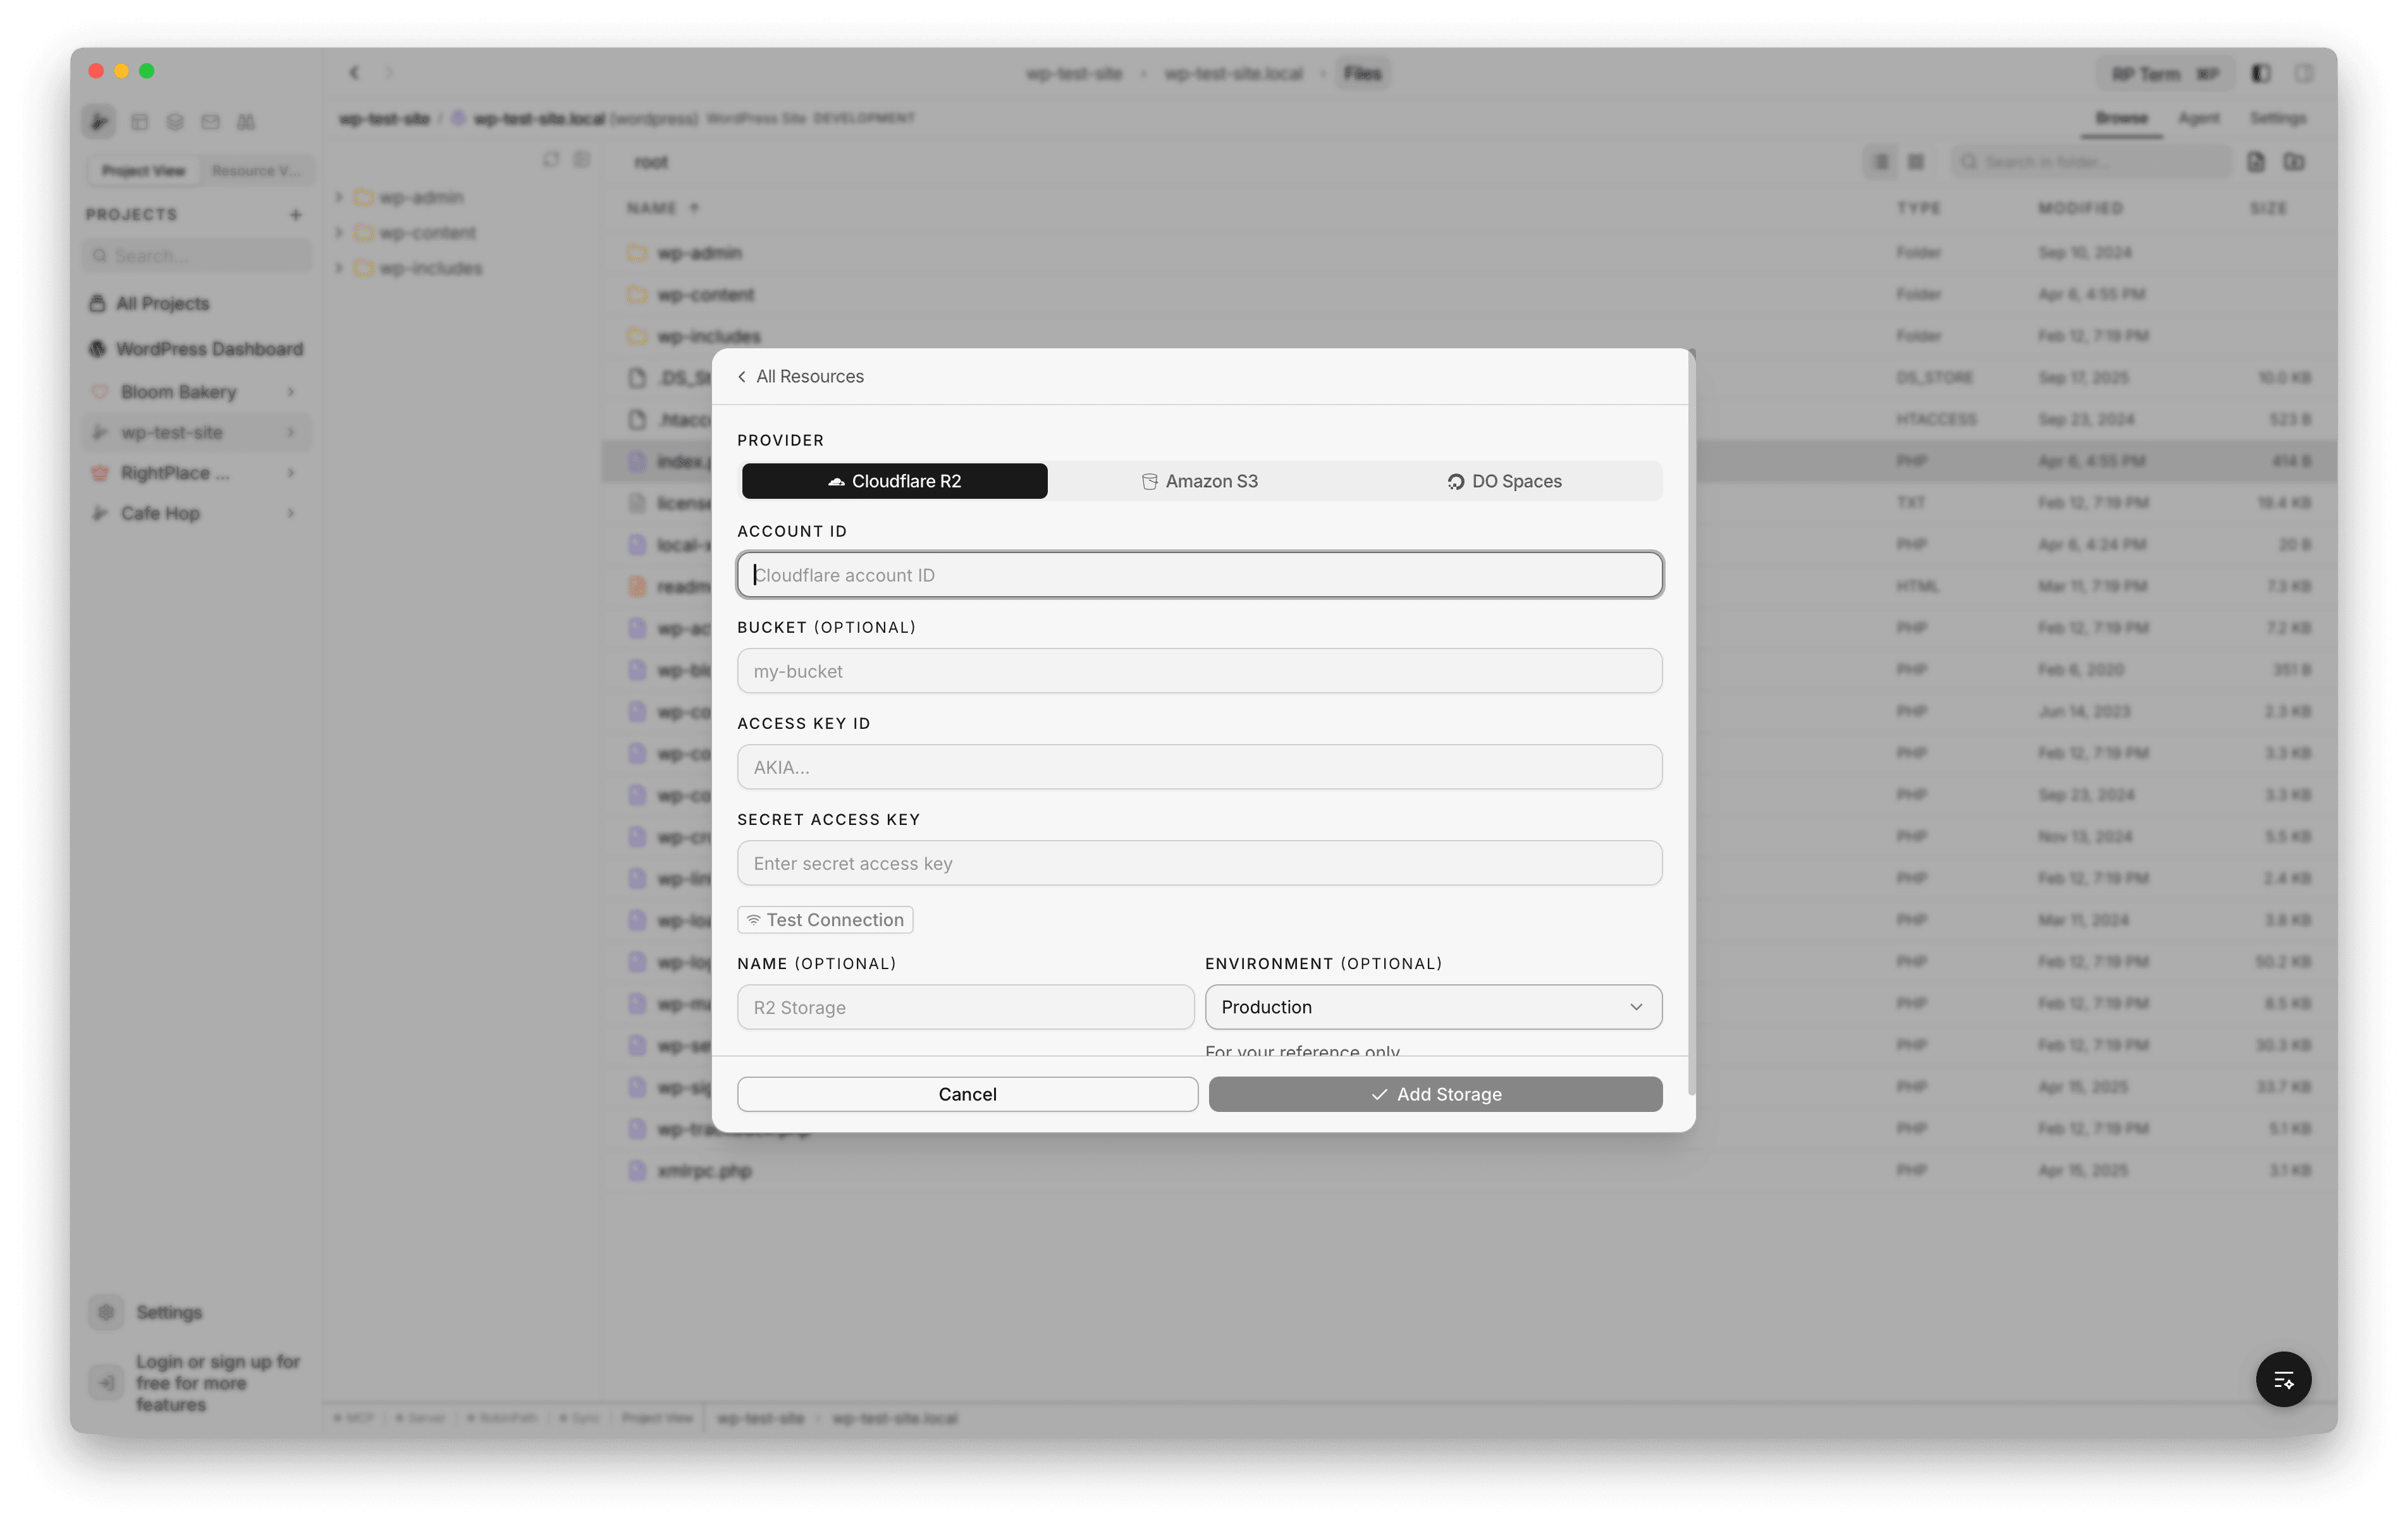
Credentials are stored in an encrypted vault. They are never logged or stored in plain text.
File Browser
Once connected, the file browser opens with your bucket contents. The layout has two panels: a folder tree on the left and a file list on the right.
Features:
- Navigate the folder tree by clicking folders in the left panel
- The right panel shows the contents of the selected folder
- Breadcrumb navigation at the top shows the current path
- Click a folder in the file list to navigate into it
- The footer shows the total item count and selection info
View Modes
The file browser supports two view modes, toggled from the toolbar:
- Table view: the default. Shows objects in a list with name, size, and last modified columns.
- Grid view: shows objects as thumbnail tiles. Grid size is configurable. Image files display preview thumbnails automatically.
File Operations
You can perform the following operations on objects in your bucket:
- Create folder: creates a folder marker (zero-byte object with a trailing
/) - Create file: creates an empty object
- Rename file: renames a file by copying it to a new key and deleting the original
- Delete file: permanently removes a single object from the bucket
- Delete folder: recursively deletes all objects under the folder prefix
- Copy (Cmd+C): copy selected items to the clipboard
- Cut (Cmd+X): cut selected items for moving
- Paste (Cmd+V): paste items from the clipboard into the current folder
Multi-select is supported. When multiple items are selected, delete and copy/cut operations apply to all of them.
Note: Folder rename is not supported because S3 stores objects by key prefix. Renaming a folder would require copying every object inside it.
Context Menu
Right-click any file or folder to open the context menu with available actions.
File context menu:
- Open: open the file in the preview panel
- Download: save the file to your local machine via a save dialog
- Copy URL / Copy Key: copy the object’s URL or key to the clipboard
- Copy: copy the item to the navigator clipboard
- Cut: cut the item for moving
- Rename: start inline rename
- Delete: delete with confirmation
Folder context menu:
- Open: navigate into the folder
- New File: create a new file inside the folder
- New Folder: create a subfolder
- Refresh: reload the folder contents
- Copy / Cut / Paste: clipboard operations
- Rename: rename the folder (files only)
- Delete: recursively delete the folder and all its contents
Empty space context menu:
- New Folder: create a folder in the current directory
- Upload Files: open the file picker to upload
- Refresh: reload the current directory
- Paste: paste items from the clipboard
Uploading Files
There are two ways to upload files:
- Upload button: click Upload in the context menu or toolbar to open a native file picker. Select one or more files or folders to upload. Folders are uploaded recursively with their directory structure preserved.
- Drag and drop: drag files from Finder directly into the file browser. The upload targets the current folder.
Downloading Files
There are two ways to download files:
- Download action: right-click a file and select Download. A save dialog lets you choose where to save it. After the download completes, the file is revealed in Finder.
- Drag out: drag files out of the file browser to your desktop or Finder. Files are staged to a temporary directory and handed off to your OS.
File Preview
Double-click a file to open a preview panel inside the browser.
- Images (PNG, JPG, GIF, WebP, AVIF, BMP, ICO): displayed as a full image preview
- Code and text files (JS, TS, HTML, CSS, JSON, Python, Rust, Go, PHP, Markdown, and many more): displayed as syntax-highlighted text
- Other files: opened with your system’s default application
Image Thumbnails
In grid view, image files automatically display preview thumbnails. The browser downloads each image in the current folder and generates a thumbnail. Thumbnails are cached in memory so switching back to a folder doesn’t re-download them.
Supported image formats: PNG, JPG, JPEG, GIF, WebP, BMP, AVIF, ICO.
Cross-Navigator Transfers
You can copy and paste files between different applet browsers. For example, you can copy a file from an SFTP server and paste it into your S3 bucket, or vice versa. The clipboard works across all navigator types in the app.
Connection Settings
To update connection details after adding storage, open the applet and switch to the Settings tab.
The settings page shows:
- Provider badge: displays R2, S3, or DO
- Test Connection: click to verify the connection. A green “Connected” or red “Failed” badge appears.
- Name and Environment: update the display name and environment tag
- Region (S3 and DO): update the storage region
- Account ID (R2): update the Cloudflare account ID
- Endpoint (S3 only, optional): update the custom endpoint
- Bucket: update the target bucket
- Access Key ID and Secret Access Key: update credentials. Leave blank to keep the current values.
- Save: apply changes. The active session disconnects automatically so the next operation uses the new settings.
Danger Zone
At the bottom of the settings page, the danger zone lets you remove the applet from the project. This disconnects the session, deletes stored credentials (both access key and secret key), and removes the applet record. A confirmation step prevents accidental deletion.
Session Persistence
The file browser remembers your state across tab switches and app restarts:
- Expanded folders in the tree
- The active folder you were browsing
- Navigator panel width and collapse state
- View mode (table or grid) and grid size
- Scroll positions in both the tree and file list
Widget
Appears when an Object Storage tab is active.
Two collapsible sections:
File Detail:
- File preview for images and videos
- Filename and S3 key with copy button
- File size, content type, and storage class
- Upload date and ETag
Bucket Metadata:
- Provider info (Cloudflare R2, AWS S3, DigitalOcean Spaces)
- Bucket name
- Region
- Custom metadata fields
Agent tools
Every action this applet exposes as a typed, permissioned tool that agents can discover and run over MCP, the same actions your team uses in the UI.